How to set up your callback
- Open @broxusbot and go to the Account page

2. Select ? Callback

3. Tap ⚙️ Add callback
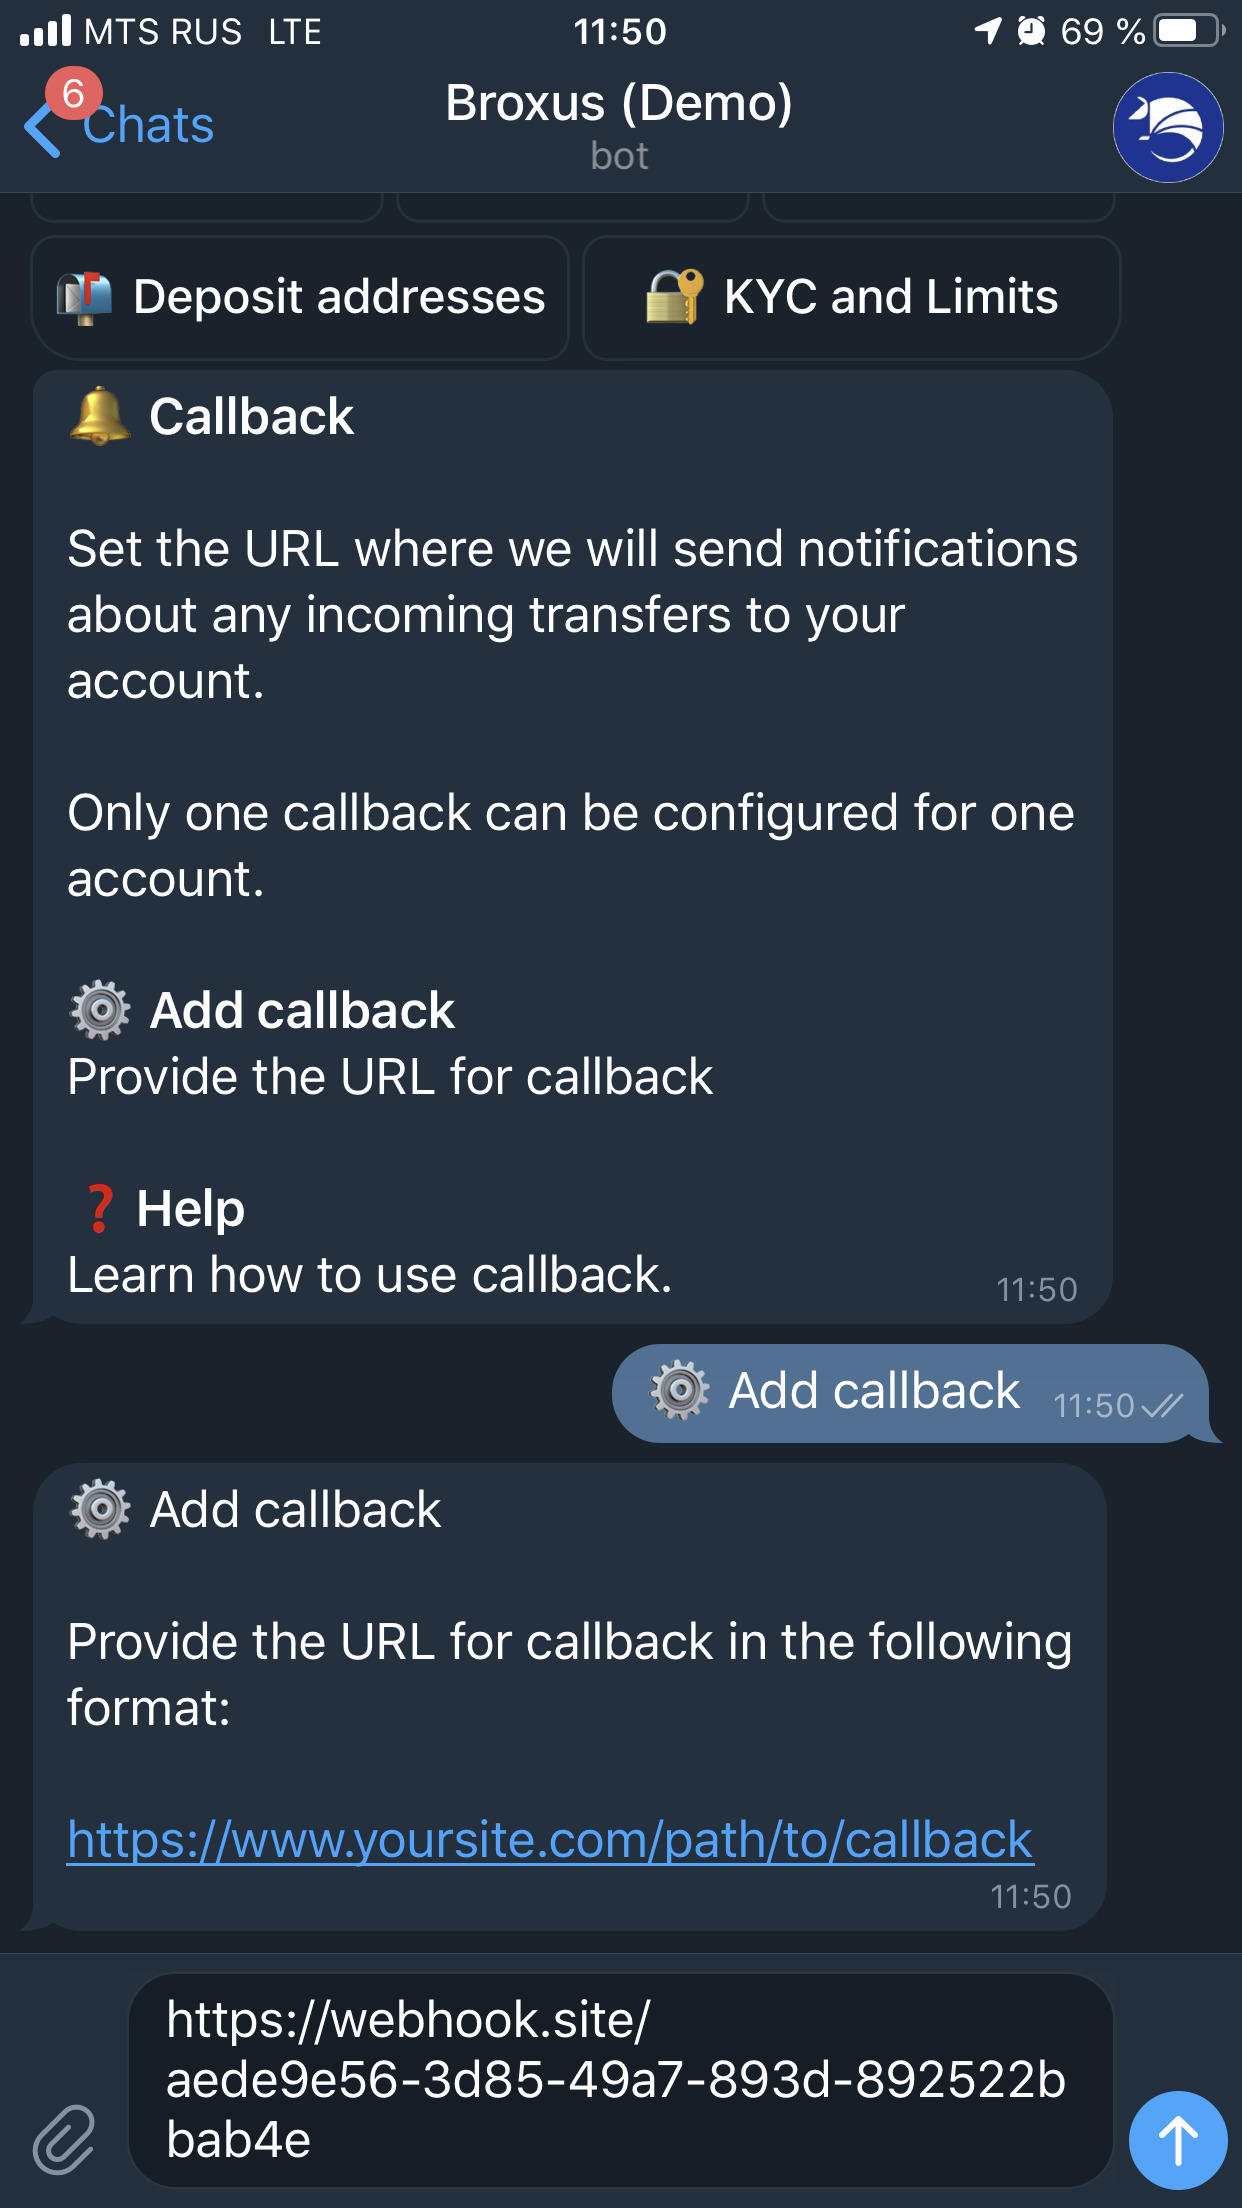
4. Input your callback URL

Yes, that easy.
Now each time any Broxus Bot user sends you a transfer or voucher or pays your invoice, you will get JSON payload to your callback URL.
To test your callback, invoice someone, and check if the data are delivered successfully.
⚠️ NB: Broxus Bot will send notification just once, and it’s your responsibility to ensure the callback URL is up and running.
⚠️NB2: You can have only one callback per account.
Payload specification
Broxus Bot sends you the payload in JSON format. Here are the fields contains in it:
- userAddress: the Telegram Id of the user who receives the payment (useful if you have one callback for multiple users);
- addressType: now it can be only “Telegram”;
- event: currently only “INTERNAL_RECEIVED”, but we may extend it in future;
- meta: data about the user who sent you the payment
- fromUserAddress:
- Telegram Id (Long) in case of direct transfer or invoice payment;
- Voucher Id (String) in case you accepted the user’s voucher. You can also extract the Telegram Id of the user from Voucher Id using this regexp: ^VOUCHER_([0–9].+)_.*$
- fromAddressType: now it can be only “Telegram”;
- fromWorkspaceId: an internal identifier of workspace in Broxus Nova platform (see our website for additional information);
- currency: the coin ticker of received payment;
- value: the amount of coins that you have received;
- valueUsd: the value in USD at the current exchange rate;
- transactionId: goes without saying.
How to update the callback
- Open @broxusbot and go to the Account page
- Select ? Callback
- Tap ⚙️ Update callback
- Input your callback URL
How to remove the callback
- Open @broxusbot and go to the Account page
- Select ? Callback
- Tap ? Remove callback
- Confirm
We will stop sending you notifications from this moment.